
The process of erecting a metal building can be seemingly tedious and confusing at times. However, knowing and completing each step is essential to the assembly of your metal building. If you’re deciding to purchase a turnkey metal building, it’s a great idea to be familiar with the steps involved in erecting it.
Erecting your own steel building can actually be quite simple when you have prior building knowledge. Either way, it is still a hefty task and can be very difficult if you don’t know what you’re doing. Be sure to follow the safety guidelines associated with erecting your building and follow these steps for a less complicated approach.
Planning for Your Building Construction
Planning for your building construction is a crucial step when embarking on your metal building project with Champion Buildings. The process begins with a thorough assessment of your needs and goals. Their team of experienced professionals will work closely with you to understand your specific requirements, whether it’s a commercial, industrial, agricultural, or residential structure. They will consider factors such as the intended use, size, layout, and any customization options you desire. With this information, Champion Buildings will provide expert guidance and assist you in selecting the ideal design, features, and materials for your metal building, ensuring it aligns perfectly with your vision and functional needs.
In addition to personalized design consultation, Champion Buildings excels in project planning and management. Their team will assist you in obtaining the necessary permits and adhering to local building codes and regulations. They will create a detailed construction plan, outlining timelines, milestones, and key deliverables. This comprehensive planning approach helps streamline the building process, minimize delays, and optimize efficiency. Champion Buildings takes pride in their commitment to open communication and collaboration, keeping you informed at every stage of the construction process. With their meticulous planning and expert project management, you can have peace of mind knowing that your metal building construction is in capable hands.
Step 1: Look Over The Instructions
Before starting construction, be sure to look at your building drawings and instructions to get a better idea of how each part will go together. You should be referring to the instructions throughout the entire process as well.
 Step 2: The Foundation
The foundation is one of the most important elements of erecting your metal building. Make sure the surface where your slab of cement will go is completely flat so that the bolts will be easily found. View the instructions to find out where your anchor bolts will go.
Be sure to measure your slab from the center of each bolt and between your anchor bolts then compare those measurements to make sure they are even.
To make sure the slab is the correct dimensions measure from the top left of the slab to the bottom right and then the top right to the bottom left. If these two measurements are equal then your cement slab is a proper shape. This is a great tip to catch any problems early so they may be easily corrected.
Also, be sure to make sure you have the correct amount of nuts and washers and before beginning construction.
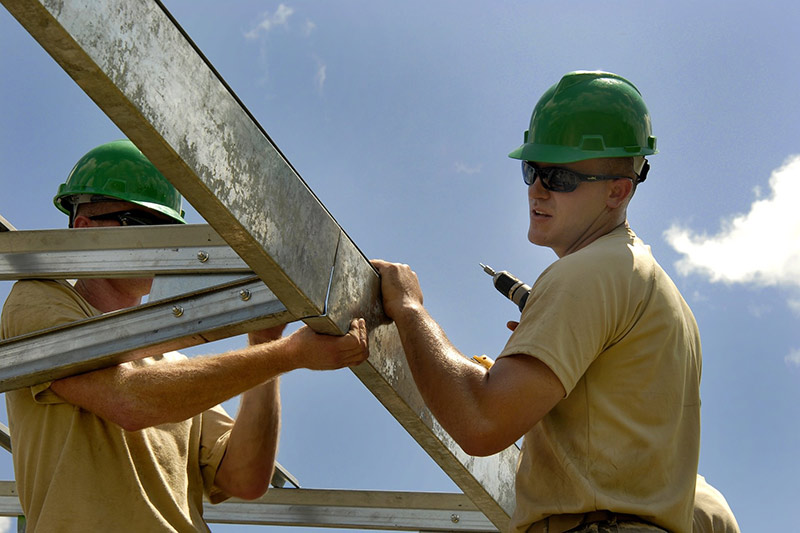
Step 3: The Frame
The first part of the framing process begins with the I-Beam columns and the rafters. As these buildings are “pre-engineered,” all of the pieces will be pre-cut, punched, and welded for you. These beams are going to be the heaviest and most essential pieces to the construction of your metal building.
Before attaching your columns, make sure your bolts are free of any concrete and properly placed. Always work from the middle bay outward and make sure each pillar is level before proceeding. Once you have all four columns of the center frame standing, you will then want to install the sidewall girts at 7’ 6”. Then you may begin assembling and connecting the rafters for each section in the same sequence.
Step 4: Girts, Purlins, and Framed Openings
Once you get the main frameworks up, you can then start to add the rafter frames, eave struts, purlins, and remaining wall girts that give more support to the walls and roof. Install and leave temporary bracing to keep the frame in place until you’ve completed sheeting the walls in the next step.
Since shoot-in anchors are not strong enough you will want to use nail pins or sleeve anchors. Then continue following your instructions to install the building accessories. Attach the jamb and header trim to the framed openings with pop rivets before you start installing the walls and roof.
Step 5: Roof and Walls
By this point, most of the framing should be completed. From here you can start to focus on the insulation, walls, and roof sheeting. Simply screw the sheeting into the frame using the fasteners. The longer fasteners with smaller threads connect your panels to the frame. The shorter fasteners with larger threads, called stitch screws, connect panels to one another.
While Installing the fiberglass make sure you wear proper safety attire such as a mask and trim away any extra. Be sure to leave the vinyl facing alone. Then fold the access vinyl back over the fiberglass to create a moisture barrier at the edge of your building. This will serve as insulation and keep moisture out of your building.
After the walls are done, you can focus on the roof panels, where you can also remember to include the weather stripping. So the same thing with the fiberglass as you did with the walls and seal each sheet with a closure strip to create a watertight barrier. To attach the bottom of the closure strip to the eave strut just outside the double-sided tape use mastic sealer tape.
Run sealer over the top of the closure strip in order to attach the roof sheet to it. Leave the protective paper strip on the mastic until you’re ready to install the next sheet. Be careful not to let insulation be caught between the roof sheets and the closure strip. Once you peel the protective paper strip back you may install the next sheet.
Step 6: Aesthetics
The last step in erecting your metal building is adding all of the bells and whistles. This would include any of the trim, gutters, accessories, and other metal building design options that you purchased. You may also want to use double-sided tape and clamp pliers to hold the parts together while you install them if needed. The trim will not only allow your building to look finished, but it will also help to keep the building free of leaks. Lastly, you will add any doors, windows, and vents. And at last, your building will be complete.
In the meantime, take a look at our completed jobs you never know where you will get inspiration for your metal building.
How To Build A Steel Building FAQs
Can you put up a metal building by yourself?
Absolutely! Putting up a metal building by yourself is not only feasible but also offers remarkable advantages over constructing a wooden structure. The process of erecting a steel building, even as a DIY project, is significantly faster compared to traditional wood frame buildings. With minimal customization requirements, the assembly becomes remarkably straightforward and surprisingly swift. By opting for a metal building, you gain the convenience of a streamlined construction experience without compromising on quality or durability. Whether you’re a seasoned builder or a determined individual, tackling a metal building project independently is an attainable and rewarding endeavor.
Is it cheaper to build with metal?
When it comes to cost-efficiency, metal construction has a distinct advantage over wood. Generally, building with metal proves to be more economical, with an average price range of $19 to $25 per square foot, whereas wood construction falls within the range of $20 to $35 per square foot. However, the cost advantages of metal extend beyond the initial investment. Metal structures boast a lower lifetime cost due to their minimal maintenance requirements. Additionally, should the need arise to dismantle the building, metal can be salvaged and resold, providing potential cost-recouping opportunities. Choosing steel for your construction project ensures both immediate affordability and long-term financial benefits.
How do you prepare the ground to construct a metal building?
Preparing the ground for a metal building involves several essential steps. Firstly, carefully select an appropriate location, ensuring ample space beyond the building’s footprint. Obtain the necessary permissions and permits to commence construction. Clear the area by removing brush, debris, and any obstacles that may hinder the building process. Next, grade the soil to achieve a level surface, addressing any unevenness or slopes. Install utilities such as water, electricity, and plumbing as required. Lastly, establish a solid foundation that provides stability and support for the metal structure. By diligently following these steps, you can create an optimal ground preparation for your metal building project.
How thick does concrete need to be for steel buildings?
The thickness of the concrete slab for a metal building is a critical consideration for structural integrity. To ensure proper support and durability, the recommended minimum thickness is four inches. However, if you intend to store heavy equipment like garbage trucks or recreational vehicles, it is advisable to increase the slab thickness to five to six inches. This additional depth provides enhanced load-bearing capacity and prevents potential issues from heavy loads. By adhering to these guidelines, you can create a robust foundation that can withstand the demands of your metal building and its intended use.
Contact Champion Buildings For Help With Your Metal Building Project!
If you are looking into purchasing a metal building and/or if you’d rather not erect your metal building by yourself, we offer all-in-one metal building services. During this process, you just have to select the building you want and where it should go. Call us at (800) 942-6812 or fill out the form below to get started!